 ObsiKO
Markdown Basics
Markdown is never hard! It's a writing syntax that dresses up your text like magic with just a few symbols. ObsiKO applies pretty formatting the very instant you type it! ✨
← Home: ObsiKO 101 · Learn the next bit of magic → 04 Advanced Markdown
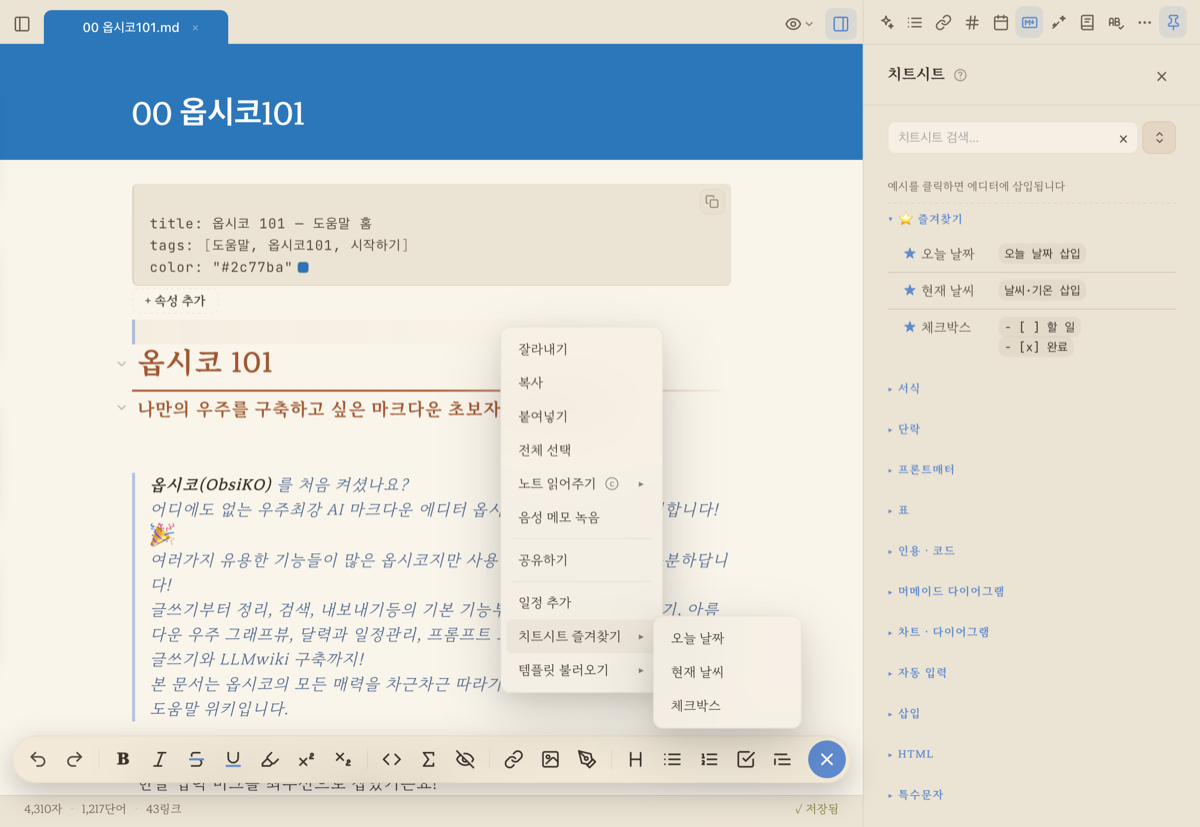
▲ No preview pane needed — it renders beautifully right where you write.
Building the skeleton of your writing: Headings
# Heading 1,## Heading 2…###### Heading 6(the more#s, the smaller the level!)- Just a hash (
#) and one space, and you're done! It becomes the sturdy skeleton of your document, and it's automatically added to the table of contents panel in 09 Backlinks & Outline.
Dressing up your text 🎨
- Extra bold!:
**bold**(or the shortcut ⌘B!) - Give it some mood, italic:
*italic*(or the shortcut ⌘I!) I'll cross this out:~~strikethrough~~- Make it pop with a highlight!:
==highlight== - Click highlighted text and a small color dot appears next to it; press the dot to open the color picker. Choose from Default (theme) + 7 colors, or hit the ✕ (no color) at the end to remove the highlight entirely, leaving just the text. (One undo brings it back!)
Like computer code:`code`
Lists that keep things neatly organized 📝
- Bulleted list:
- itemor* item - Numbered list:
1. item - Hit Enter and the next number or bullet pops out automatically! Press Tab to indent, and hit Enter once more on an empty line to escape and stop the list!
- Automatic renumbering: Insert a new item in the middle of a numbered list with Enter, and the items that follow — 3, 4, 5 — automatically shift up to 4, 5, 6. No need to struggle renumbering by hand! (One Undo brings it all back.)
- Reorder with
⌥↑⌥↓: put your cursor on an item and press. Everything nested under it comes along! And if the item next door has children of its own, your item hops right over the whole bundle — so it never lands in the middle of someone else's list. Numbers get redone for you too. (One Undo puts it all back!) - On phones and tablets, use the
↑↓buttons: no keyboard needed. Open the formatting button (✏️) at the bottom of the screen and you'll find move up/down at the end. To-do lists work the same way — sub-items come along for the ride. - Press it on a heading and the whole section moves — body text and sub-headings included — swapping places with the neighbouring section at the same level. Wonderful for shuffling the order of a piece.
Never forget a task! Checkboxes ✅
- [ ] To-do,- [x] Done!- Click the rendered checkbox with your mouse to toggle it between done and not done. Fun, right?
- When the list grows, open the
To-dostab in the outline panel. It gathers just this note's checkboxes, shows your progress, and lets you drag them into order or send finished items to the bottom. → 09 Backlinks & Outline - Attach a due date, time, priority, and alarm to one of these and it becomes a full-fledged schedule (to-do), which 13 Calendar automatically handles as a timetable! (You can easily create one right in the editor with right-click →
+ Insert▸Add Schedule— the Insert group only shows up when you have no text selected.)
Quoting something wonderful 💬
> A wonderful quote— just put a single chevron (>) at the start of the line!
Links and images that lead elsewhere 🔗🖼️
- A link out to the world:
[Display name](https://example.com) - Linking your own notes together (wiki links):
[[Other Note Name]](so convenient! → 08 Wiki Links & Tags) - Adding an image:
— no need to type anything complicated, just copy-paste or drag a photo in! It'll automatically be saved to your folder and dropped into the document. An inserted image shows up as an actual picture while you edit (move the cursor to that line and it turns back into a path you can edit). (This is Smart Paste in action! → 07 Search & Navigation) - Drag the corner handle of a rendered image to resize it (the width gets recorded like
), and use the description (alt) button to fix the alt text right away too. 🖼️ - Zoom view 🔍: hover an image and a magnifier button appears at its top-right. Press it (or hit Space while hovering; on mobile, spread two fingers on the image) for a full-screen view. Inside, zoom with the wheel or a pinch (toward your cursor or fingers), drag to pan — fling and it glides with momentum, and edges bounce back like a rubber band. Close with Esc, Space, or a tap on the backdrop.
- Touch up images with one right-click ✂️: right-click (long-press) an image and the Edit image menu handles rotate, flip, margin trim, filters, resize, format conversion, and background removal on the spot. Background removal clears solid backgrounds (logos, drawings) instantly — and when the background is complex like a photo, it switches to AI subject isolation automatically, running free on-device on iPhone/iPad (iOS 17+), Android, and Mac (your photo never leaves the device). (Web and Windows handle solid backgrounds only.) → Platform Guide
- Draw right where you are ✏️: rather sketch it yourself than paste a photo? Inline drawing puts a pad right at your cursor (Apple Pencil & S Pen supported!). → 04 Advanced Markdown
- Voice memos, spoken not typed 🎙️: right-click (long-press) in the editor → 'Record voice memo' and recording starts right away (it sits right at the top level of the menu). When you're done, the audio is saved to
assets/with a playback link at your cursor! With an AI key (OpenAI/Gemini) it'll even offer to transcribe it to text — great for meetings and lectures. → 16-9 AI Billing Guide (Subscriptions vs Credits) - Free image search 🖼️: Don't have the right photo? Open the Image Search panel on the right (works right away, no separate key needed!). Choose from Openverse, Pixabay, Pexels, Wikimedia, or Giphy and a stream of freely usable images shows up — just click one, or drag it into the editor or mind map, and you're done! Scroll down and more load automatically, hover for a large preview, use the HD button to save full resolution, and hit the cell's ↗ button to check the original page and license. Select a word in the body text before opening the panel and it'll search for that word right away, and clicking the search box shows your recent searches too. (Imported images are saved to your vault, with the source noted alongside.)
A clean divider ➖
- Three hyphens
---gives you a nice divider line across the screen. Just like this!
Formatting fairies that do it all for you 🧚
- Slash menu
/: Just type/on an empty line! Pick headings, lists, checkboxes, quotes, callouts, dividers, code, tables, math, a table of contents, a calendar, frontmatter (properties), or a schedule right from a menu. No need to memorize Markdown symbols! (↑↓ to choose, then Enter!) Frontmatter goes at the very top of the note, and the menu hides it once the note already has one. - Drawing is there too — pick
/drawing(or/sketch) and a sketch pad opens right at that spot.
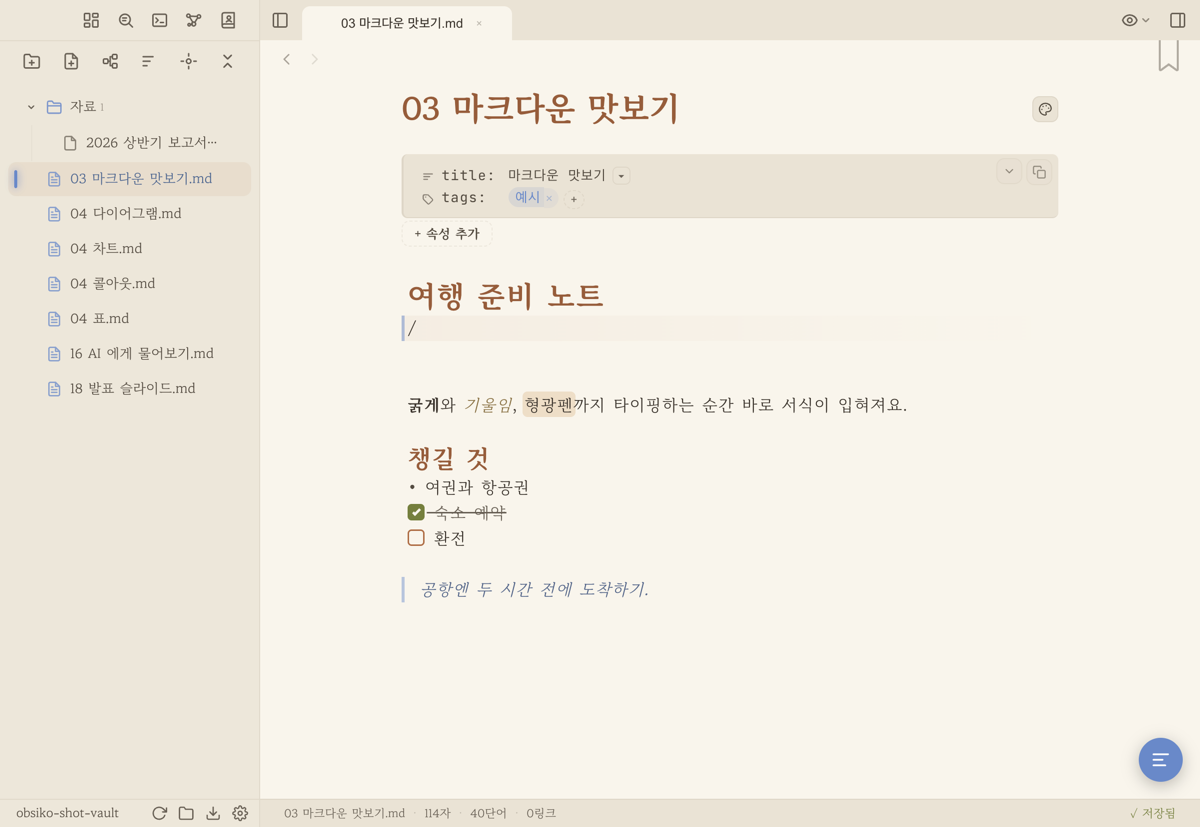
▲ One / and the block menu pops up! Pick one to insert instantly.
- Smart Paste: Copy a web address (URL) and paste it over some text to turn it into a clean link! Paste an image and it's automatically saved to the assets/ folder too!
- Lightning-fast shortcuts: Drag across some text and press ⌘B, ⌘I, ⌘K. Formatting changes without you ever typing the symbols by hand. → See the full list at 24 Keyboard Shortcuts
- Ending a format: Turn on bold or highlight with a format button (or shortcut), write, then press the same button again — the cursor hops out of the format and whatever you type next is plain text. No hunting for the hidden closing marks! While the cursor is inside a format, that button lights up in the format bar (heading, list, and quote lines too), so you can always tell which format you're in. On a keyboard, a single Tab also hops out of the format (nested formats exit one layer at a time, innermost first — inside tables Tab still moves cells, and with an autocomplete list open it picks the item first). Stack formats (underline inside bold) and both buttons light up — both really do apply. Symbols that are just text, like asterisks inside code (`code **x**`), don't count as formatting.
- Wiki link button: The format bar has a [[ button. Press it and [[]] is inserted with the note list opening right away — no typing double brackets on a phone. Select text first and it wraps that text as the link. → Wiki Links & Tags
- Multiple spots at once! Multi-cursor: Mod+click to drop multiple cursors, or Mod+D to select the same word one after another and edit them all together. Alt+drag also lets you make a rectangular (box) selection. ✌️
- Mobile formatting button: On phones and tablets, when the keyboard comes up, a small round button floats in the corner of the screen. Tap it and formatting tools like bold, headings, and lists spread out. The Add tasks by voice · Insert schedule · Insert frontmatter buttons live here too. → 25 Platform Guide
- Smart quotes: Type a quote mark (', ") and, based on position, opening quotes (' ") and closing quotes (' ") go in automatically. It even handles apostrophes inside words like don't perfectly! Select some text and type a quote mark to wrap the whole thing, and inside code blocks or frontmatter, straight quotes are kept exactly as typed. (You can turn this off in Settings → 23 Settings & Themes)
- Getting back out is easy too — press Enter at “line│” and it steps past the closing quote and breaks the line (list continuation still works inside lists). Press Backspace inside an empty auto-inserted pair (“│”) and the whole pair disappears. Writing dialogue line after line never stalls. 💬
- Auto symbol replace: The fiddly ones get typed for you — ... → …, -> → →, <- → ←. Inside code blocks and frontmatter they stay as typed, and -- is deliberately left alone (in Markdown --- is a horizontal rule, so the second - would break the line). Turn it off in Settings ▸ Editor.
- Show formatting marks ¶: The most confusing thing in Markdown is the difference between a blank line splitting paragraphs and two trailing spaces making a line break — and both are invisible characters. Turn on Settings ▸ Editor ▸ Show formatting marks and the blank line that splits paragraphs (¶), the two trailing spaces that make a break (↵) and any leftover trailing whitespace show up faintly. Not a single character changes — it's display only (toggle it instantly from the command palette with formatting marks). The ¶ only appears on blank lines your cursor isn't on — the empty line you're standing on stops being a paragraph break the moment you type. So starting a new paragraph takes two presses of Enter (inside a list, todo or quote it's three: one of them escapes the list).
- Color code preview: Type a color code (HEX, RGB, HSL) like #d9a05b and a color swatch square pops up right beside it so you can see exactly what color it is at a glance. 🎨
- Tidy formatting 🧹: Right-click → Note composer ▸ Tidy formatting… cleans up little things in one go — trailing spaces, runs of blank lines, ##heading spacing, and key:value colons in properties (YAML). It shows how many spots it'll fix before applying, and one ⌘Z brings everything back. To tidy a whole folder, right-click it in the file tree ▸ Notes in this folder ▸ Tidy formatting in folder… (revert per file from Change History). Code blocks and math are never touched, and two trailing spaces (the line-break syntax) are preserved!
- Templates & auto-fill: Pull in a form you use often (just create it as a .md file in the vault's Template folder — subfolders are fine, they all show up). Four ways in, one shared list — type /template in the body, search template in the command palette, right-click → + Insert ▸ Insert Template, or use the sidebar + menu. (That + Insert group also holds Add Schedule, Insert Frontmatter, and your cheat sheet favorites.) Placeholders in the template get filled in automatically the moment they're inserted:
- Dates & times: beyond {{date}}, {{time}}, and {{datetime}}, you can format and shift — {{date:YYYY-MM-DD (ddd)}} picks the shape, {{date:+7}} (7 days ahead) and {{date:YYYY.M.D|+1w}} (1 week ahead) move it, and {{tomorrow}} / {{yesterday}} are there too.
- File info: {{title}}, {{folder}}, {{path}}, {{created}} (creation date), {{modified}} (last saved), and {{tags}} (this note's tags as #a #b).
- Grab things: {{clipboard}} (whatever you copied), {{selection}} (selected text — see below), {{weather}} (weather for the place you picked in settings — complete with a matching icon like ☀️🌧️❄️), and {{cursor}} (where the caret lands after inserting).
- Ask & fill: {{ask:Project name}} pops an input box the moment you insert and drops the answer in place, and {{choose:Status|To do|Doing|Done}} pops a picker. The same question is asked only once even if it appears several times, and canceling inserts nothing at all. When there are two or more questions, you get one "Fill in the values" screen instead of a stack of popups — you can see everything it asks before inserting, and go back to fix an earlier field (Enter moves to the next field; on the last one it confirms).
- Each folder can have its own new-note template — right-click a folder in the file tree ▸ Notes in this folder ▸ Default template for new notes…, and new notes in that folder (subfolders included) start from it. The template for today's note lives in Settings → 13 Calendar.
- Start a new note from a template: sidebar + menu ▸ New note from template (also in the command palette). Pick a form, type a title, done. If the template asks questions it asks them then — and canceling creates no file at all.
- Save this note as a template: right-click ▸ Note tidy ▸ Save as template. Give it a name and a copy lands in your Template folder (created for you if it doesn't exist). The original is untouched. If today's date is spelled out in the note, ObsiKO asks once whether to turn it into an automatic date ({{date}}) — declining is fine.
- Open an empty note and 'Start from' chips appear under the title (most recent first). One tap fills the note; start typing and they quietly disappear. They share that spot with the kind suggestion chips — template chips while the note is empty, kind chips once it has content.
- No templates yet? Not a dead end — if the folder is missing ObsiKO offers to create it, and if it's empty it tells you where to put them.
- Select text and right-click to see Insert Template directly — the template's {{selection}} becomes your selected text and wraps that spot whole (perfect for quote or callout frames). The cheat sheet's Auto-fill section collects all of these tokens too.
← Previous: A Tour of the Screen · Home · Next: Advanced Markdown →